Pawsey Remote VR
- Jesse Helliwell
Introduction
Virtual reality can be a useful tool in data visualisation and analysis, and high quality standalone headsets can now be acquired cheaply. However, Large scale visualisations still require high end computation to render, and so often the cost of experimentation in VR is still quite high. Pawsey offers a remote VR service that allows users to connect standalone headsets such as the Meta Quest family of devices to the computational power of Nebula nodes with RTX A6000 GPU's. It also supports connecting via desktop tethered headsets such as the HTC VIVE family of devices via a low end windows laptop.
Applying for Remote VR Access
Users need to have active Nebula project. Apply via the Pawsey Application Portal.
For further information about applying for visualisation services, see How to Apply for Visualisation Services.
- In the application, mention that you wish to use remote VR so that you are allocated a node with the service installed.
- If you already have a nebula project, contact help@pawsey.org.au to request access to the Remote VR service.
- If you are planning to use a Meta Quest device, please include your meta account's email address so you can be given access to the client application.
- If you are located in Perth Western Australia, Pawsey staff may be able to provide a demonstration of the service and loan a headset for you to use for your project.
Headset Support
Windows tethered headsets:
- Meta's Oculus family of headsets are supported.
- HTC Vive and Cosmos headsets are all supported.
- Windows Mixed Reality headsets such as the HP Reverb are NOT supported as they do not support SteamVR.
- Windows based headsets from other manufacturers should work as long as they support the SteamVR runtime.
Standalone headsets:
- Meta Quest headsets (Quest 1, 2, pro and 3) are all supported.
- Other Android based VR headsets may be supportable. Please contact help@pawsey.org.au with any questions about support for a specific headset.
Downloading and installing the Remote VR client
Booking and Connecting to the Remote VR Node
For information on how to book and connect to a Nebula session, refer to the Nebula Documentation.
Starting the Remote VR Server
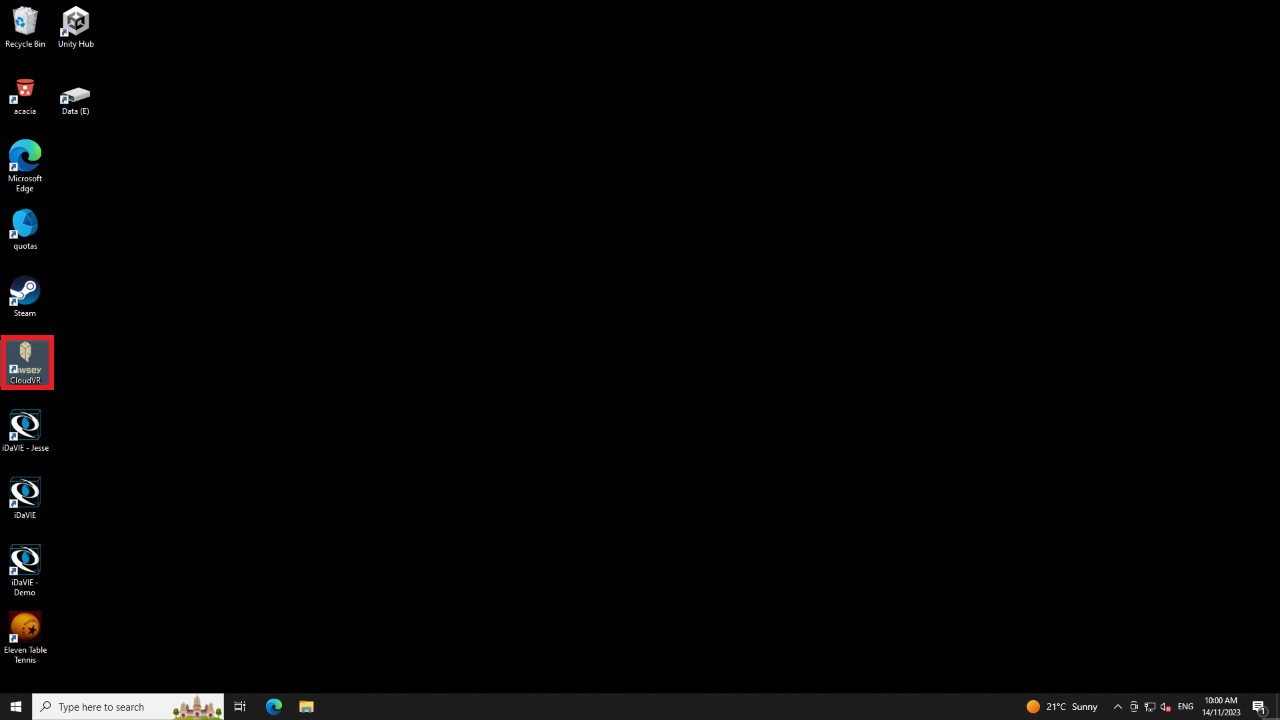
To start the Remote VR server, double click the icon on the remote sessions desktop:
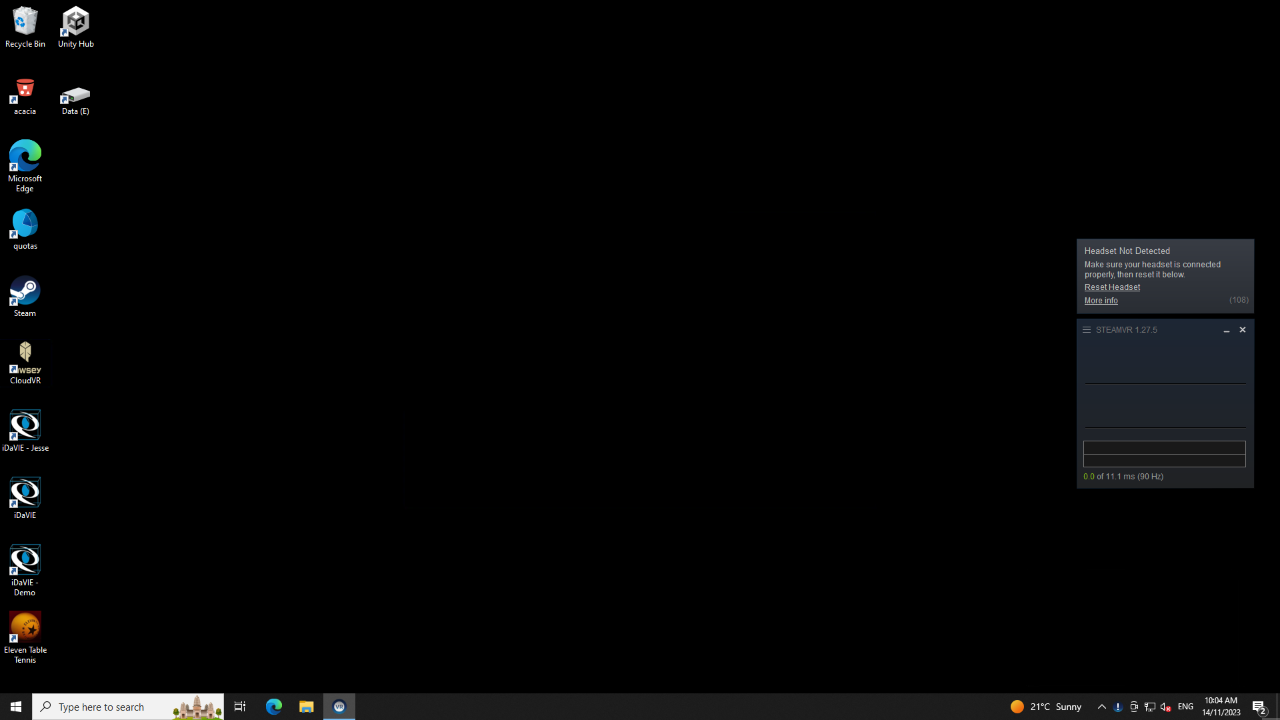
New users may need to run this shortcut twice to get the server to run correctly. If the server is running, the SteamVR Dialog will appear.
Connecting to the Remote VR Server
It is important that you connect your remote headset to the server BEFORE running any VR applications. This is because the applications need to know the parameters of the client VR device in order to operate correctly. Similarly, if you wish to connect a new, different VR headset to the server, you first need to restart the server.
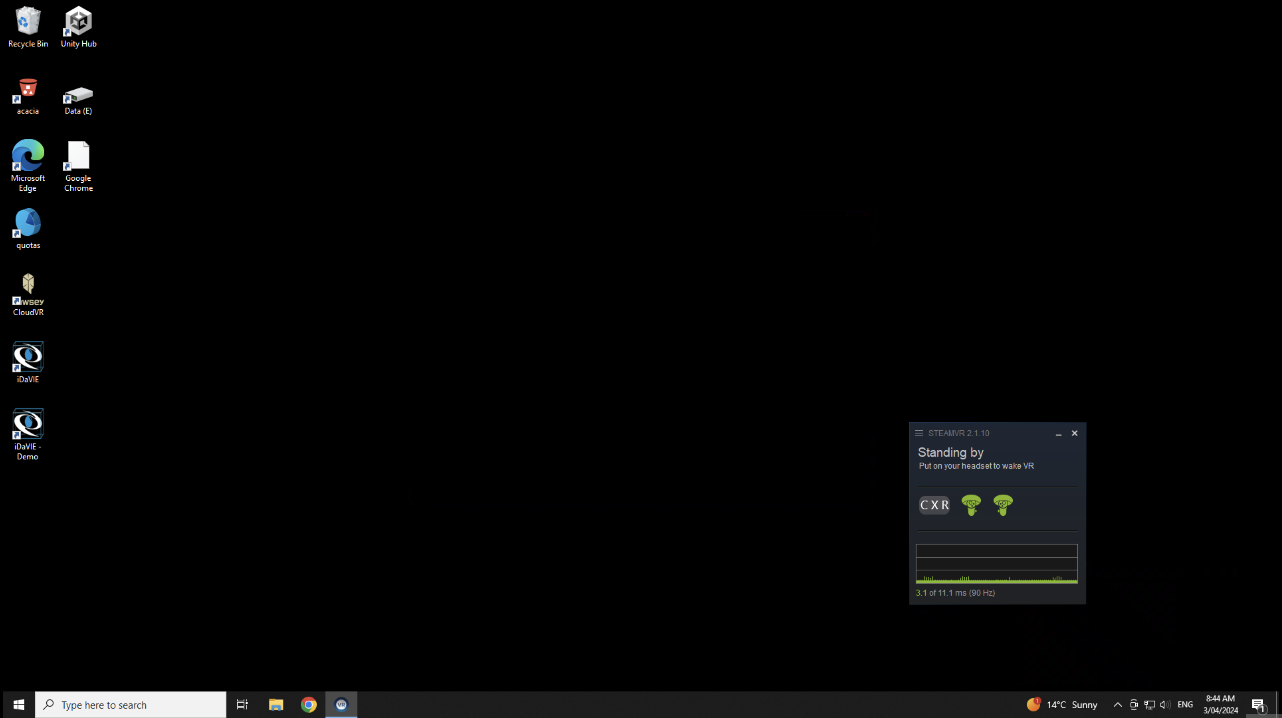
Once you have started the client app and connected, the SteamVR window will change to show that the remote headset's status:
Inside the headset, you should see the SteamVR landing environment:

Running a VR application
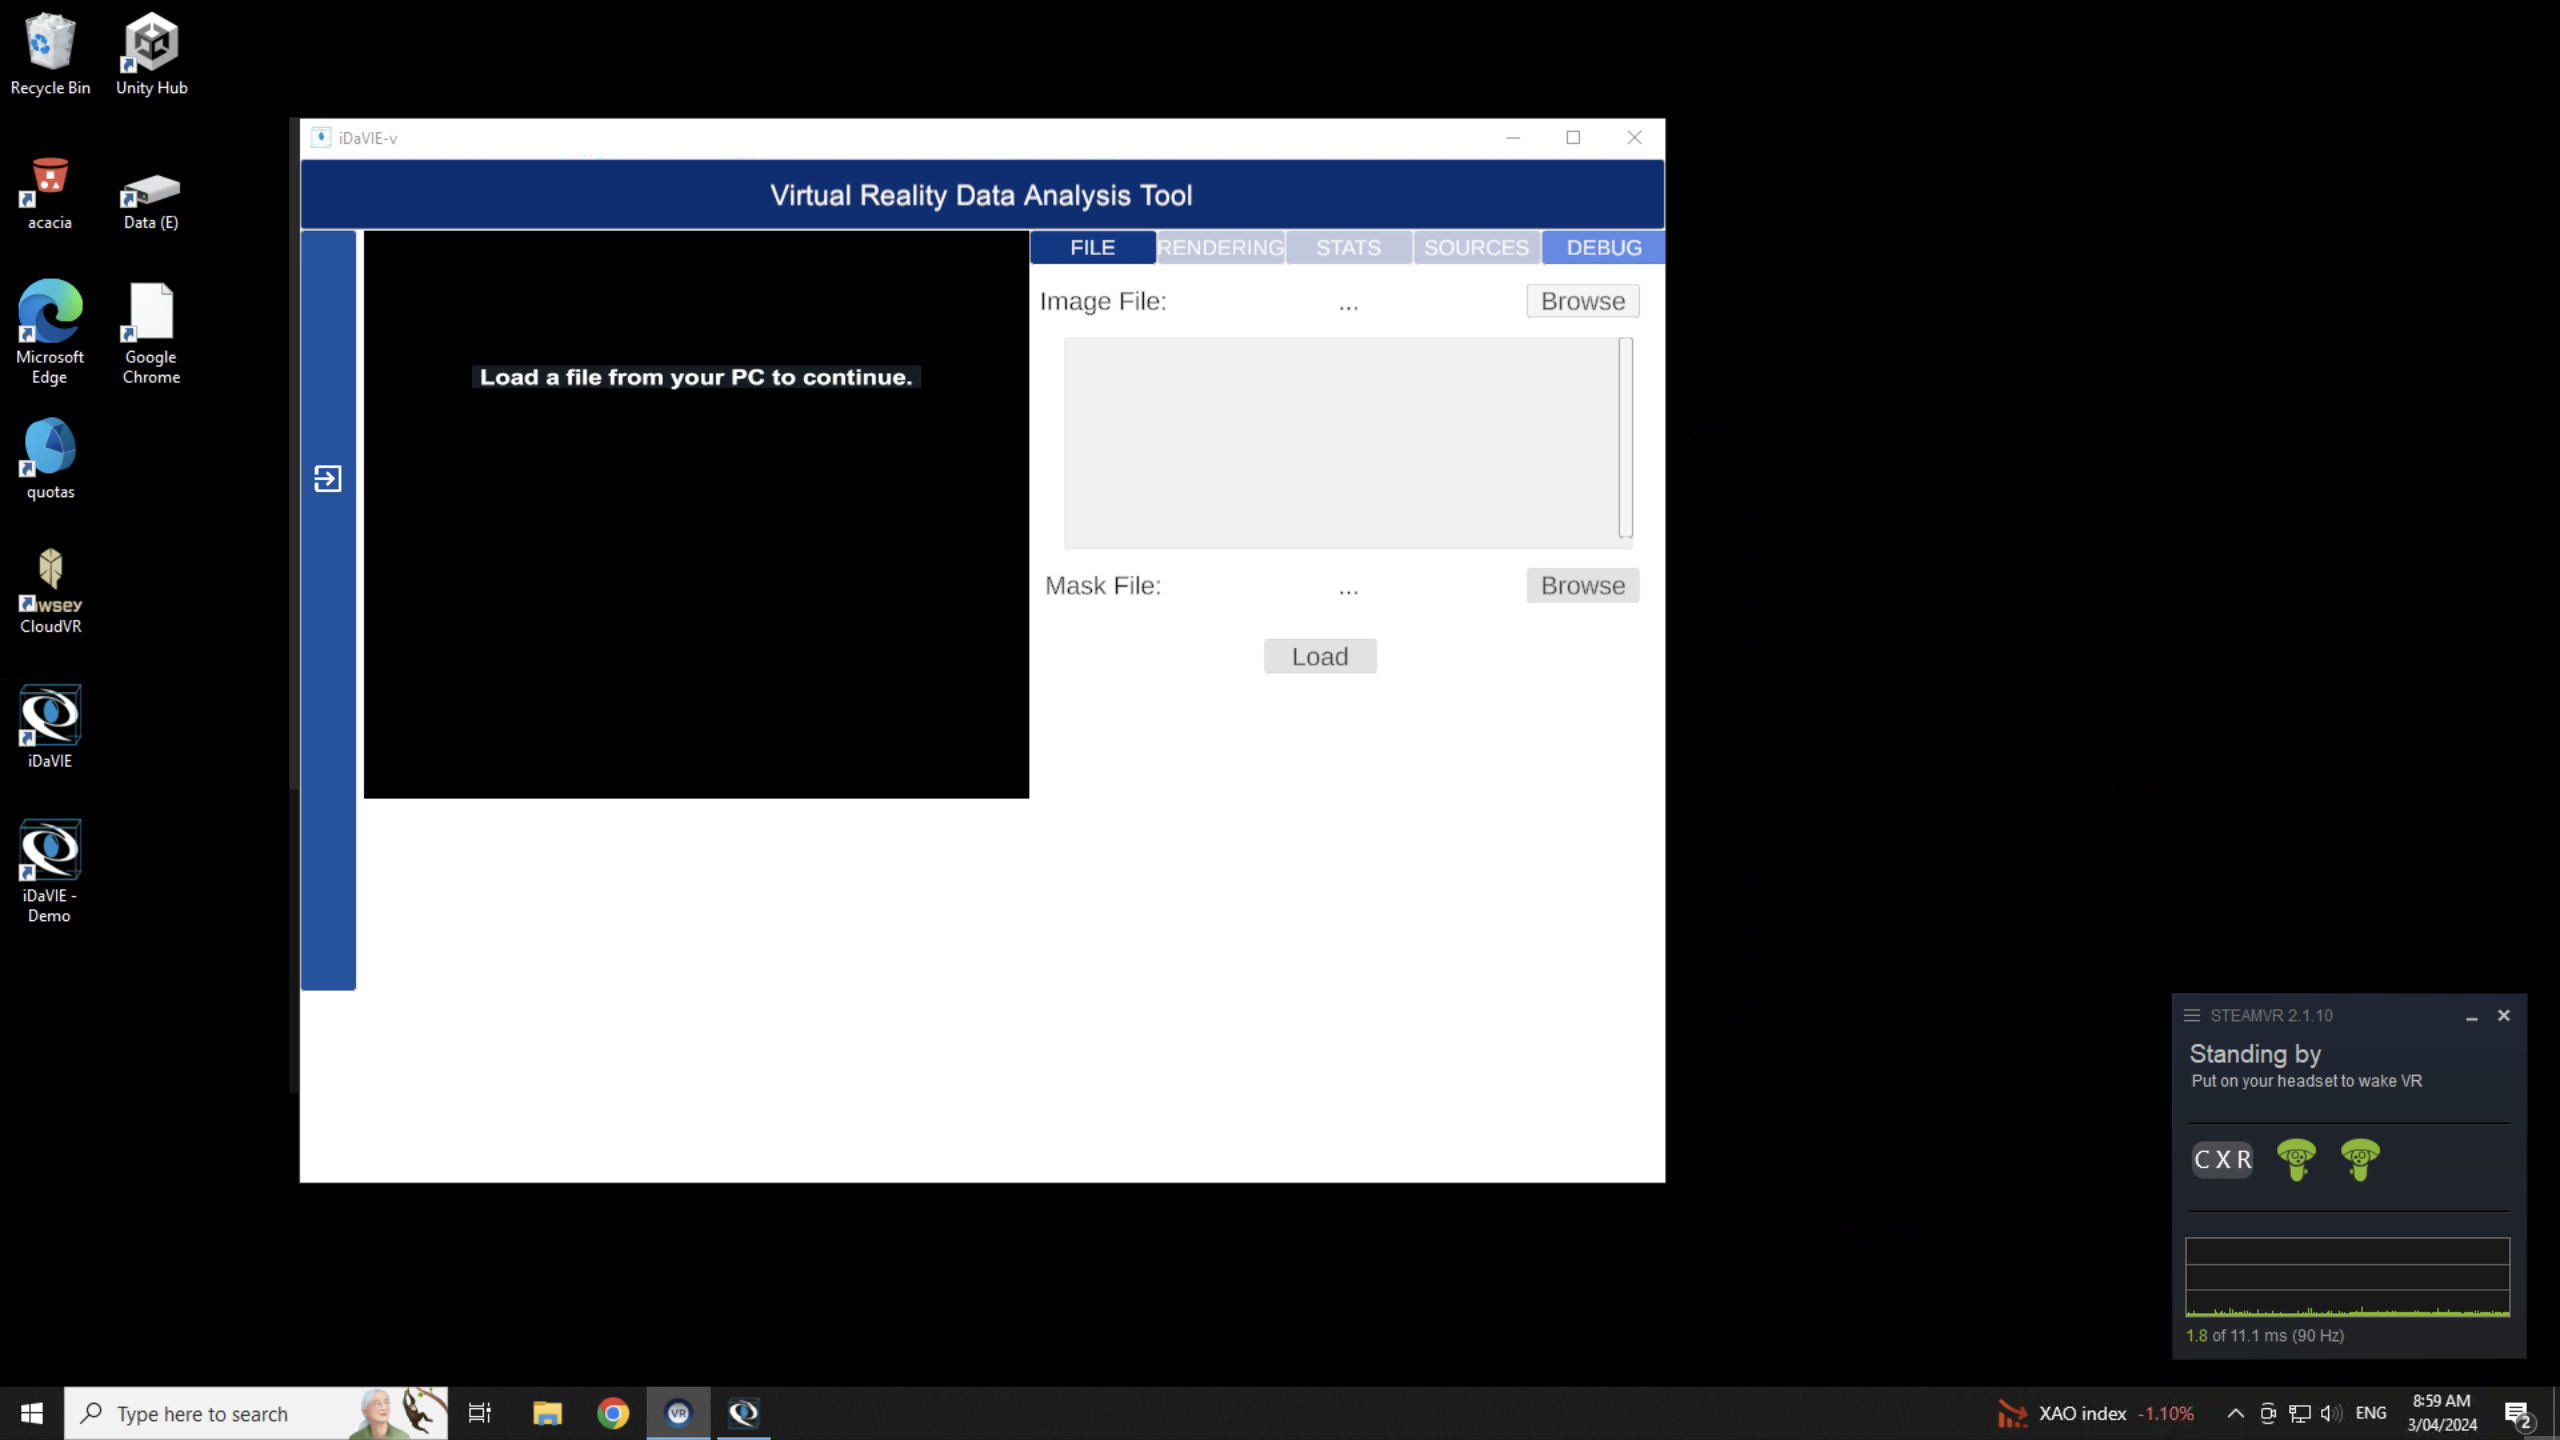
Once you have connected a headset to your Nebula session, you can launch VR applications using the remote desktop:
Using the desktop in VR
Inside the VR headset, you can access the SteamVR menu and Remote desktop feed by pressing the Menu button on the left controller:
