Configuring and running an S3 client
Authenticating
To access Acacia you need user and/or project authentication which comes in the form of keypairs (an Access ID and a Secret Key).
You can see a summary of your Acacia accounts as well as generate a keypair to use in S3 clients from within the Pawsey Portal at https://portal.pawsey.org.au.
Log in using your Pawsey username and password. Select the ACACIA tab from the top menu and either select MANAGE KEYS or View Keys as highlighted below.
This will show how many access keys you have created and the access ID's for these keys, but only for the account selected by the Storage Name drop down button.
To view/generate keys for other accounts you first need to select them with this button. Note that any keys you create for separate accounts are not interchangeable.
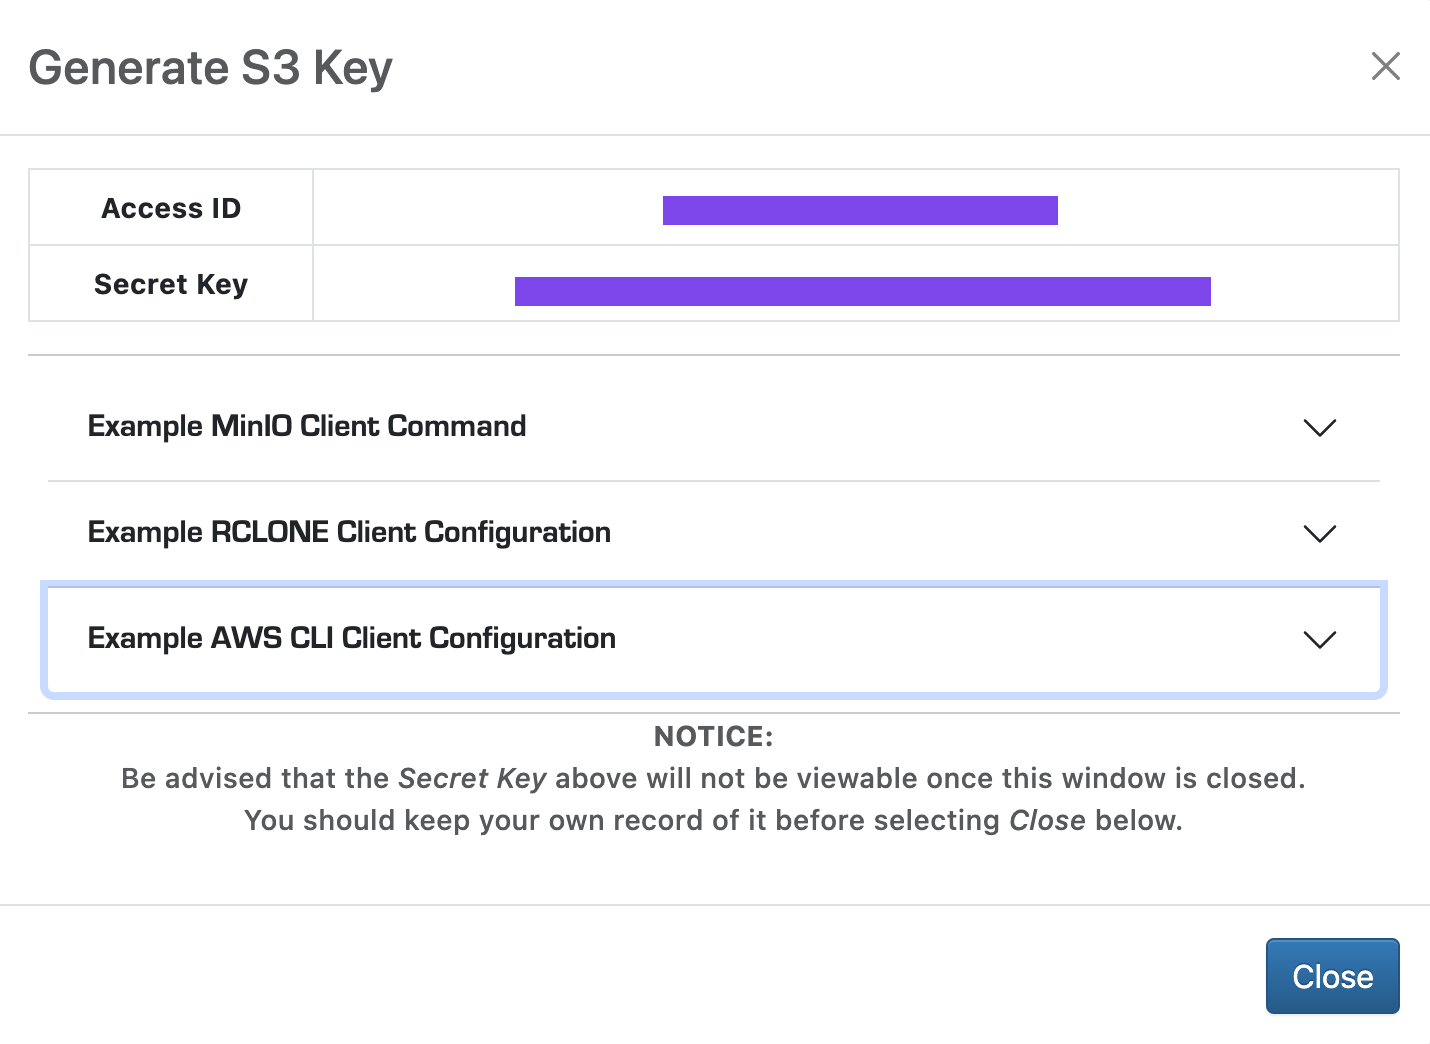
Chose Create New Key and an access key pair will be generated and displayed so you can record it. Please note this is your only opportunity to view your Secret Key.
After you've saved your secret key in a secure location, chose Close.
Client support
- The secret key is visible only when you create it, if you don't copy your secret key or if you lose it, you must create a new set of access keys.
- If you already have five access keys, the Create New Key button is disabled and you must delete an access key before you can create a new one.
- For more information on using the Pawsey Portal see Project Administration.
Configuring
You need to configure an S3 client the first time you use it with the Acacia endpoint (https://projects.pawsey.org.au) and your access keys.
Rclone
You configure Rclone either by creating/editing the configuration file $HOME/.config/rclone/rclone.conf directly or by running the rclone config command which will create the file for you.
In the example below we directly edit the configuration file using the tee command and a redirection waiting for end-of-file (<<EOF) to add lines to the configuration file. This could alternatively be done with a text editor.
The terms in triangular brackets are not part of the command, they require your input. So, for example, you need to replace <accessIDkey> with the access ID obtained from the portal.
The <storageProfileName> is how you refer to this account when using Rclone so would best reflect either the project or purpose of the storage.
Client support
- Do not use spaces in your profile name.
- The blank line before the profile name is required.
$ mkdir -p $HOME/.config/rclone
$ set +o history   #This command turns off history recording for security reasons (avoid recording of keys in history)
$ tee -a $HOME/.config/rclone/rclone.conf <<EOF

[<storageProfileName>]
type = s3
provider = Ceph
endpoint = https://projects.pawsey.org.au
access_key_id = <accessIDkey>
secret_access_key = <secretKey>
EOF
$ set –o history    #This command turns on history again
Once configured all Rclone commands can be executed as usual in interactive sessions or within Slurm batch scripts from Pawsey clusters.
Security
Do not share your credentials with any other user (even within your same project).
Also check that the configuration files are only readable by you, that is, the read and write permissions on those files should only be granted to the owner:
$ ls -l $HOME/.config/rclone/rclone.conf
-rw------- 1 user user 2367 Mar 28 15:22 /home/username/.config/rclone/rclone.conf
If instead it looks like this:
-rw-rw-r-- 1 user user 2367 Mar 28 15:22 /home/username/.config/rclone/rclone.conf
you need to modify the permissions like so:
$ chmod 600 /home/username/.config/rclone/rclone.conf
and check again.
Pshell
When running pshell for the first time you will need to follow the instruction on adding an S3 remote endpoint: pshell and S3 remotes
Using pshell subsequently the commands (ls, cd, mkdir, get, put) will behave as normal, see: PSHELL Quickstart.


